These Car Cleaning Hacks will make cleaning your car easier and save your money and you’ll forget the chemical cleaners!
1. Clean Seatbelts
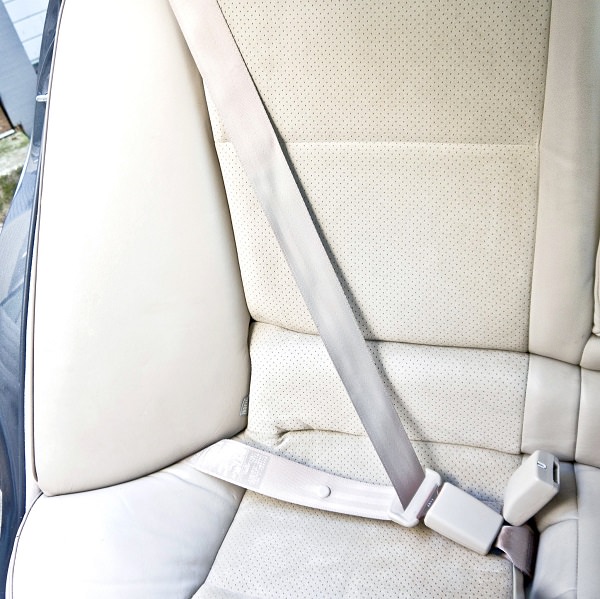
Accidents and spills happen and after a long rough use, seat belts need cleaning too. Some warm water, vinegar, and liquid dish soap can do this job for you. Visit PopSugar to get the directions!
2. Olive Oil for a Shiny Dashboard
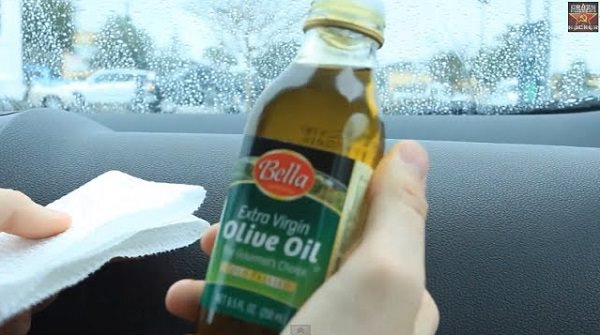
Just use a paper towel or a piece of cloth dipped in olive oil to wipe down the dashboard, it makes it shinier. The detailed post is available here! Watch this video too.
3. Cupcake Liners for Your Cup Holder
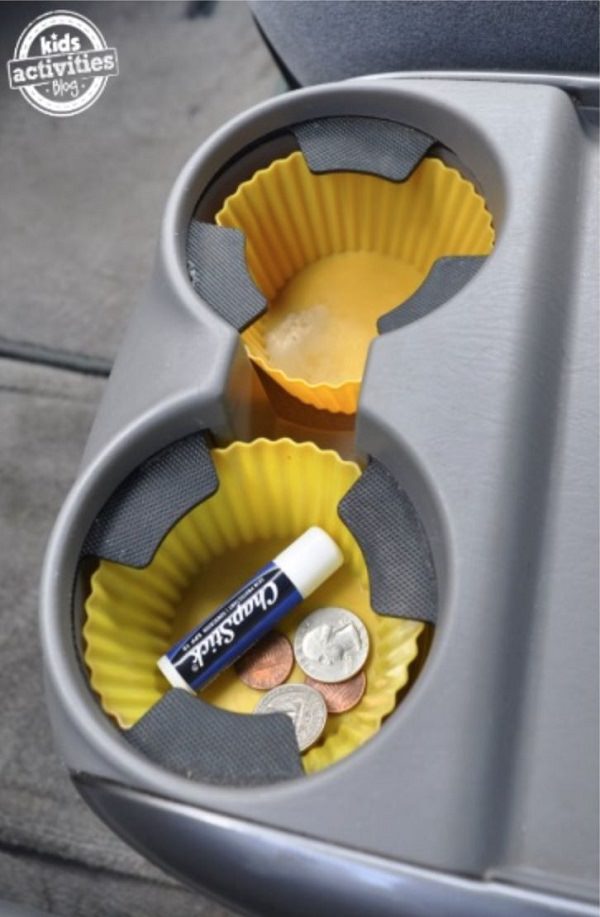
Use silicon cupcake liners in your cup holders to hold miscellaneous stuff on them. This will save you from cleaning the crumbs and lint that get stuck there.
4. Foggy Headlights
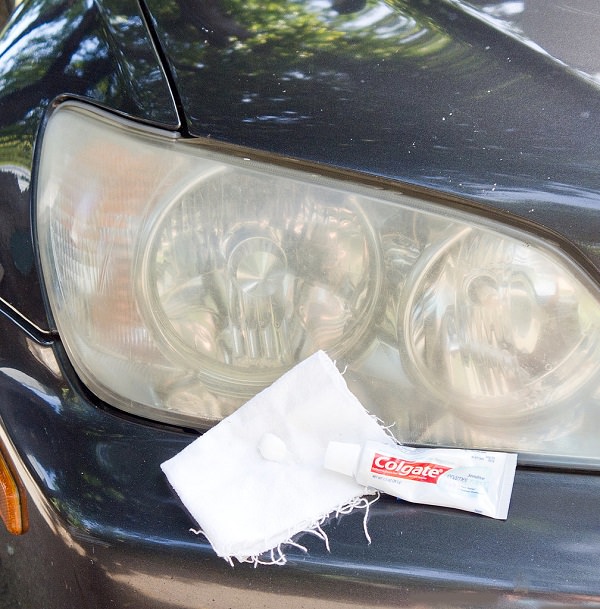
Toothpaste easily cleans foggy headlights and increases visibility. Rub the toothpaste on the headlights with a cloth and rinse it off. Repeat the process until the headlights are as clean as you want them to be. The DIY post is here!
5. Use a Painting Brush for the Vents
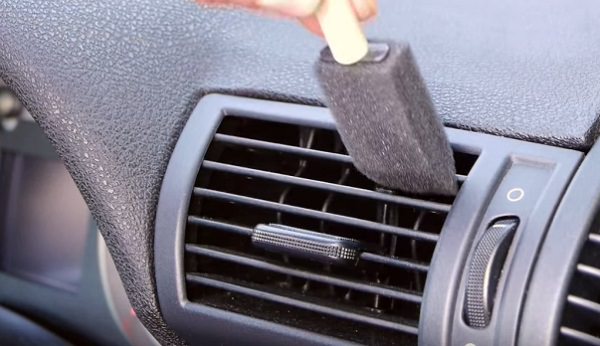
Buy a cheap foam brush for painting and keep it handy. Use it to clean the vents whenever they are clogged or dirty; it’s pretty much free of charge and literally works. The “How to” guide is here!
6. Clean Upholstery with Baking Soda
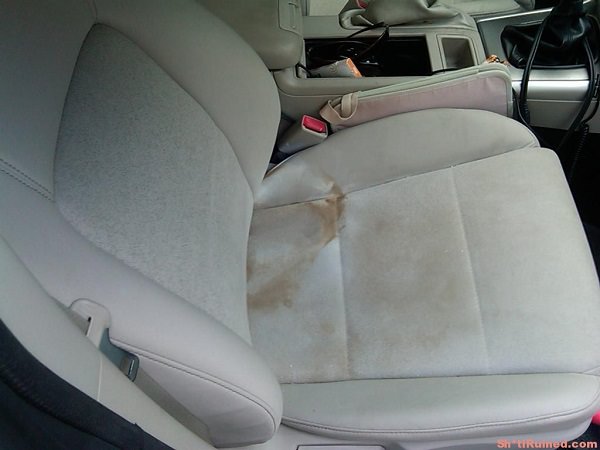
Food that spills on the car leaves the spot can be difficult to get off the upholstery. Mix baking soda with vinegar to make a paste that you use to clean the upholstery. Rub it into the stains using a toothbrush and vacuum it once it dries to get rid of the stains. The detailed post is here with a few more DIY upholstery cleaning hacks.
7. Getting Rid of Odors
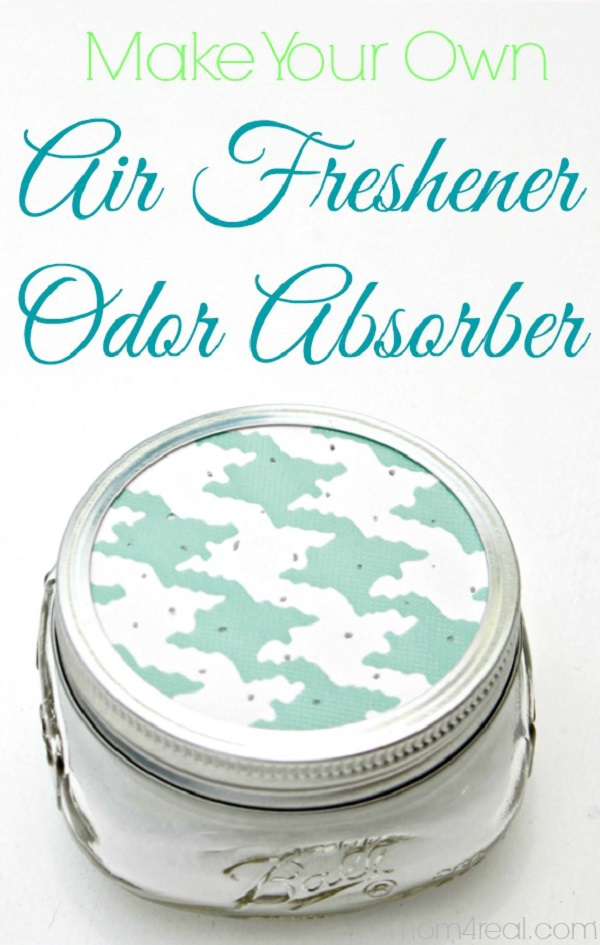
Mix essential oils and baking soda in a mason jar with holes in the lid. Place it in the cup holder or wherever else it will stand upright for it to release the fresh scent and have the car smelling better. Simple! Check out this DIY with step by step instructions.
8. Use a Toothbrush to Reach every Spot
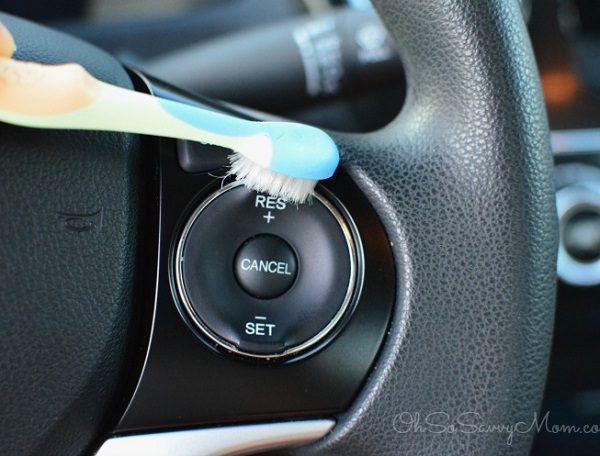
Toothbrushes can get tough dirt and stains of many areas of the car with little effort. The toothbrush does an excellent job cleaning areas like the dashboard, headrests, and seats.
9. Clean Wheels and Hubcaps
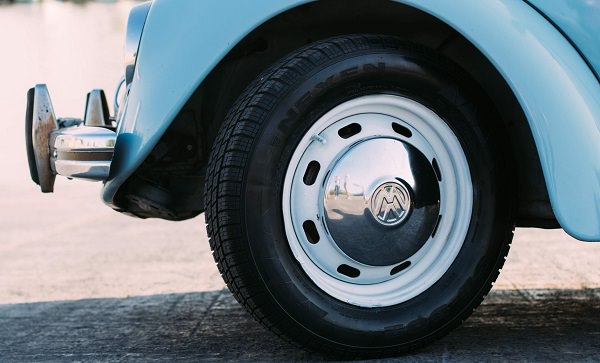
Use a paste of baking soda, dish soap, and water to clean the wheels and hubcaps. Cover them in the paste and wash off when they dry to get the wheels looking brand new again.
10. Keep a Cleaning Pack Handy
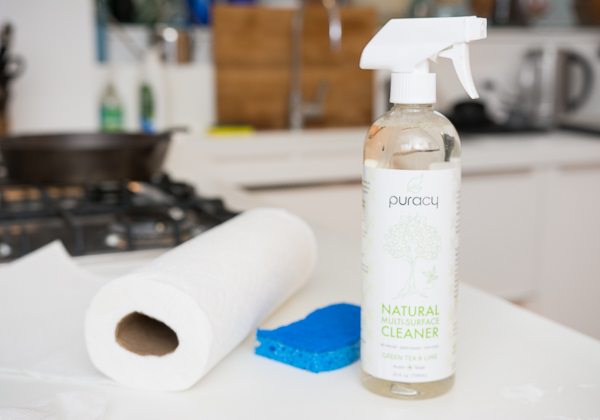
Have a pack with a sponge, all-purpose cleaner, and paper towels for emergencies that mess up the car. The benefit of having such simple cleaning aids close by is that the stain doesn’t settle in or spread.
11. Get Shiny Chrome
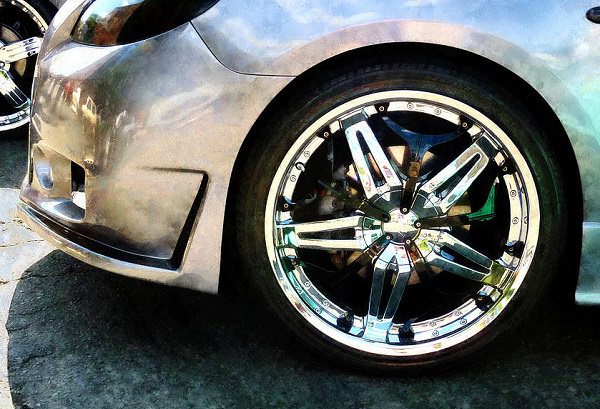
Mix vinegar with water and spray it to clean the chrome on your wheels. The mixture should be in equal parts. Once you are done wipe it down, this will bring back their luster.
12. Avoid Streaks on Your Windows
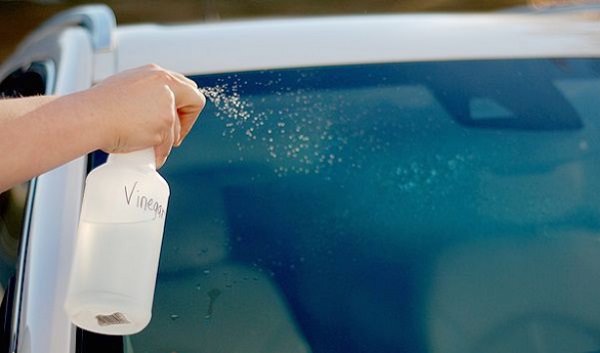
If you have streaks on your car windows, after cleaning them; just use newspaper and vinegar to take care of it. Spray vinegar on the windows and wipe it off with newspaper to get rid of any streaks. It works!
13. Removing Gunk from a Bumper Sticker

The unpleasant gunk left behind when you remove bumper stickers can remain for a long time if you don’t do anything about it. Spray WD-40 on the sticker before removing it and let it settle for a few minutes. Now the sticker will not leave any gunk when you remove it. Check out the video!
14. Get Rid of Pet Hair on Your Upholstery
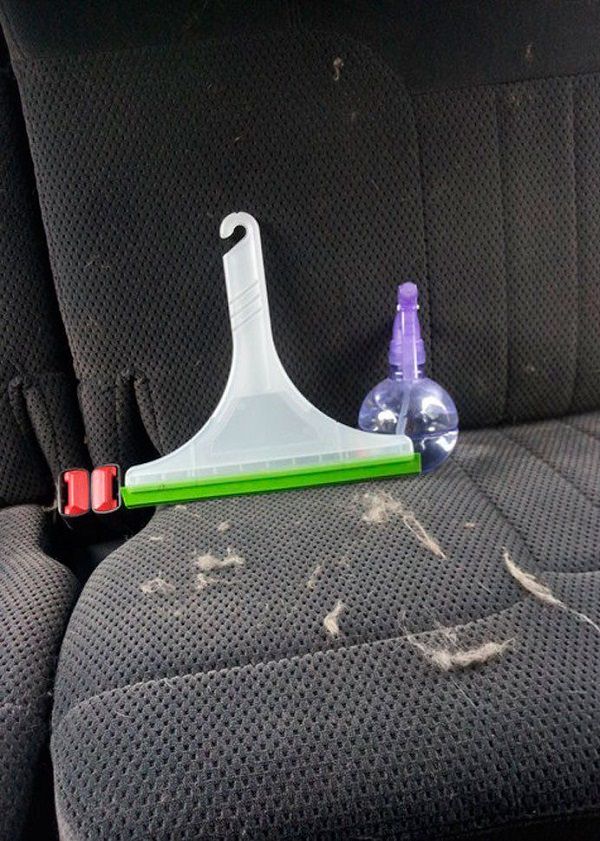
That’s a serious problem, in fact, a nightmare. Hard to get rid of. But all you need is a squeegee and some water to solve this problem. Sprinkle water on the upholstery and wipe the seats with the squeegee to pull all the pet hair from the seats. Here’s is the detailed post!
15. Clean your Mats Faster and Easier
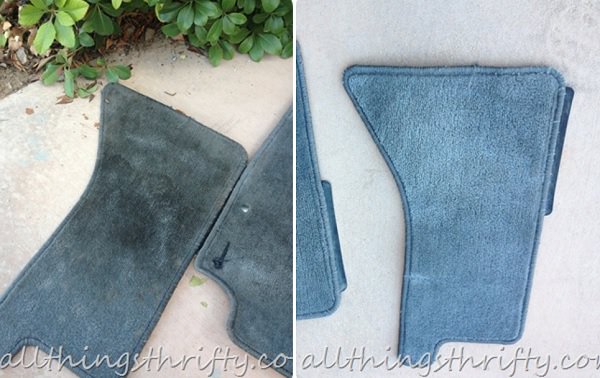
This depends on whether the mat’s fabric is washable. If they are, just spray some stain remover on them and put them in the washing machine. They’ll come out of the machine looking squeaky clean. Click here to learn more.
16. Makeshift Trash Can
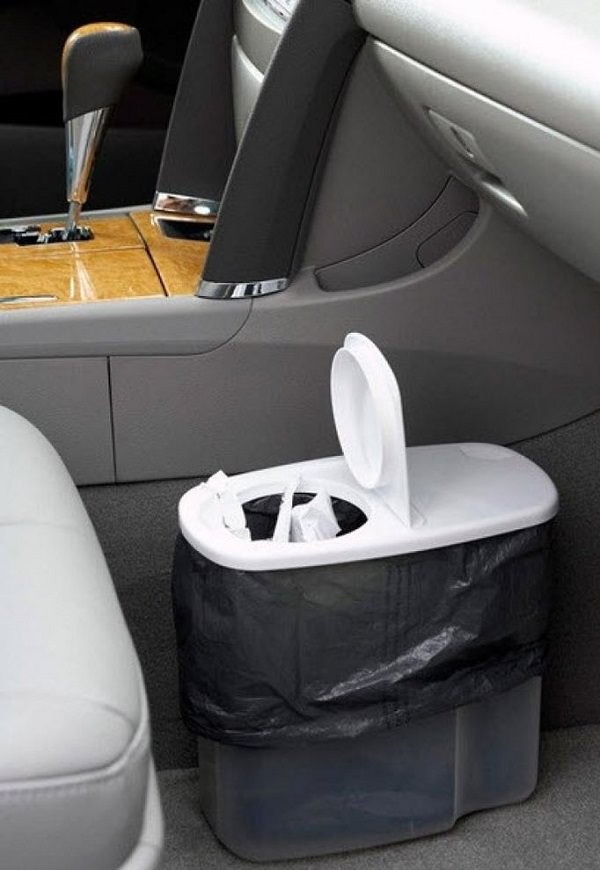
You can easily have all the garbage in your car in one place. Use a plastic cereal container with a small bag inside. There you go, now you have a trash can in your car. This is especially handy if there are kids involved.
17. Get Rid of Wax
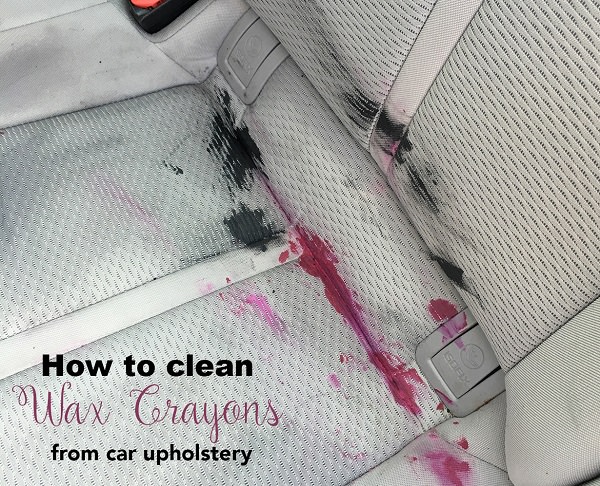
If for some reason you end up with crayons all over your seats, use wax paper and a hot iron. Put the wax paper on the areas with wax and run the hot iron over these spots. The wax comes of adequately, and the job is complete if you follow it up with another hack to get the seats spotless clean. Here’s how to do this!
18. Slime for the Tough Areas to Reach
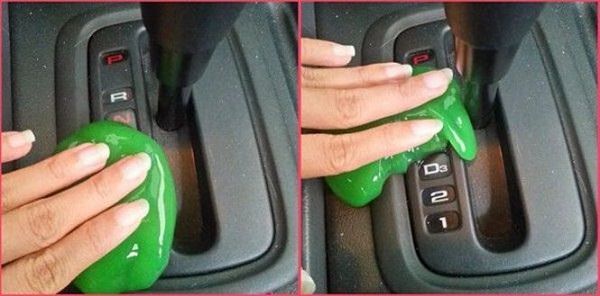
There are certain areas with grooves that are hard to get clean even with a toothbrush, say the gear shift. Make some DIY slime and spread it over the area to clean even the areas which are hard to get to.
19. Use a Q-Tip for Other Hard-to-Get-to Areas
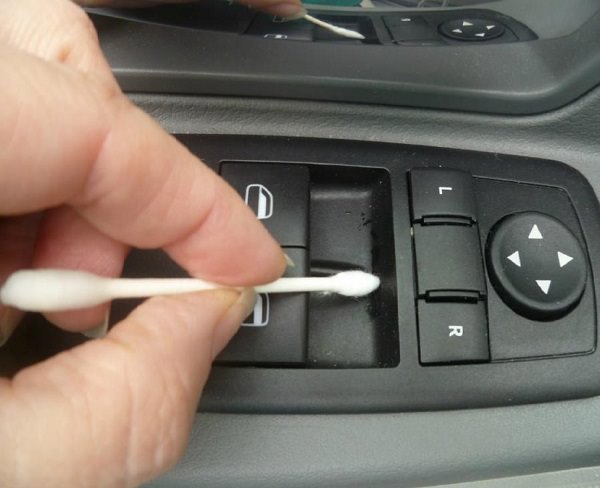
Moist Q-tips work just like DIY slime when it comes to difficult spots. Just use the Q-tip to swab the areas and use your choice of cleaner to get the job done.
20. DIY Cleaning Agent for Your Interior
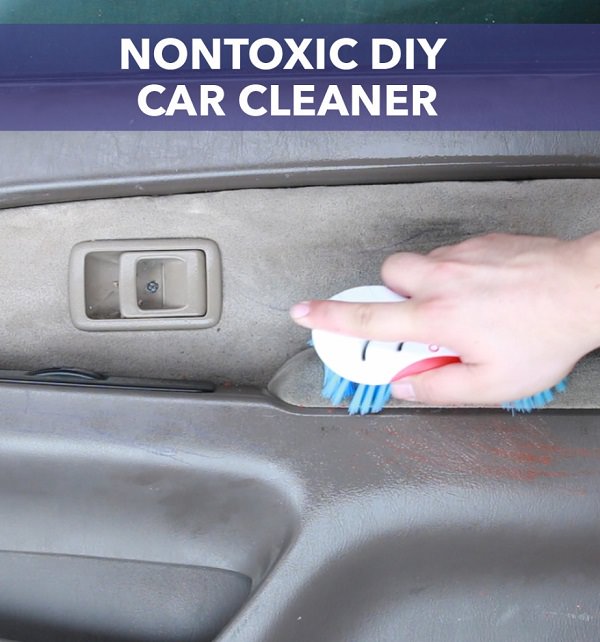
If you don’t like the harmful chemicals found in commercial cleaning products, here is how to do it yourself. Mix lemon, vinegar, club soda, and soap or dish washing liquid to get your own natural product for cleaning your car’s interior. The DIY is available on the Buzzfeed!
21. Correct Dents with a Plunger
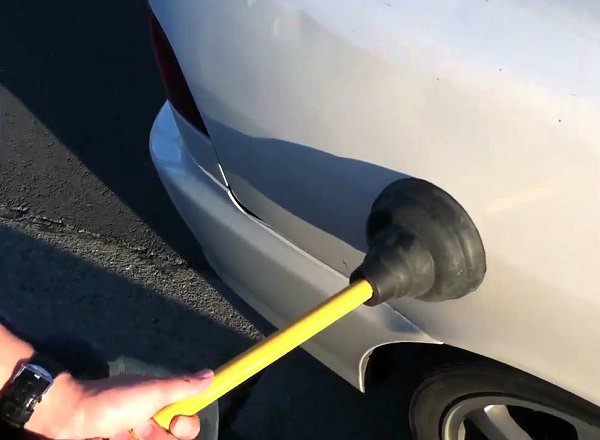
Small dents can be taken care of using a plunger. Use the suction pressure to help the panel spring back into shape. Watch the DIY video!