Learning the decrease for the first time? Then have a look at this quick Slip, Knit & Pass guide for beginners!
If you’re learning how to shape your knitting, understanding basic decreases is essential. One of the easiest and most useful decreases for beginners is SKP. It’s quick, easy to remember, and perfect for creating smooth, tidy shaping in your knitting.
Quick SKP Guide for Beginners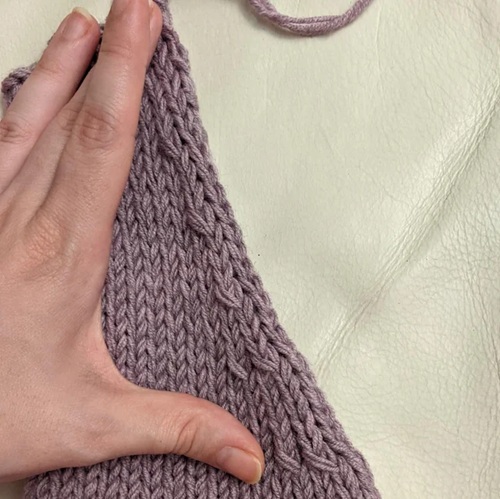
SKP stands for Slip, Knit, Pass. It’s a simple decrease method that removes one stitch while creating a left-leaning slant in your knitting pattern. The technique is most often used in sweaters, socks, lace, and any pattern that requires shaping.
If you’re just starting out, SKP is one of the easiest decreases to learn and gives your work a clean look.
Why is it Important to Learn SKP for Beginners?
Learning the SKP is important for beginners as it helps shape your knitting pattern, structure, and direction. This decrease allows you to shape garments smoothly, create mirrored decreases in patterns, and lace designs correctly while keeping your fabric balanced and polished. It helps your finished projects look neat.
And remember, SKP is often paired with K2tog, a right-leaning decrease, so the shaping lines in your knitting appear even and symmetrical.
What All Do You Require for It?
To work on an SKP decrease, you don’t need any special tools. All you require is your current knitting project, the yarn that you have already used, needles, and a basic understanding of the knit stitch.
How to Make SKP?

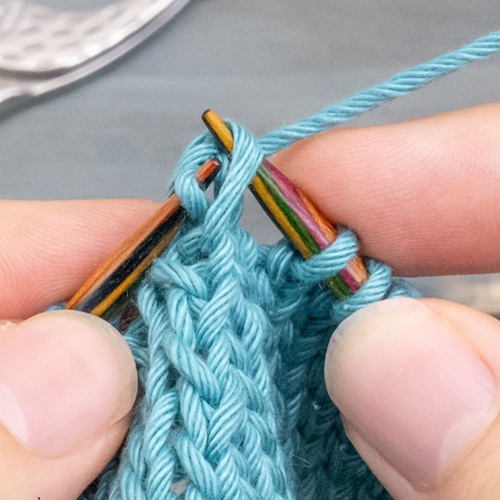
Step 1:— Slip One Stitch Knitwise
With your yarn in the back, slip one stitch from the left needle to the right needle as if you are going to knit it. When the decrease is complete, the stitch will lean smoothly because it is correctly mounted on the needle when it is slipped knitwise.
Step 2 — Knit One Stitch
Knit the next stitch in the usual way, just as you would do any regular knit stitch. This stitch forms the base of the decrease and will support the slipped stitch in the following step.
Step 3 — Pass the Slipped Stitch Over
Using the left needle, lift the slipped stitch up and over the knit stitch and off the right needle. This removes one stitch and completes the SKP decrease, giving your knitting a neat left-leaning line.
How Does SKP Looks Like?
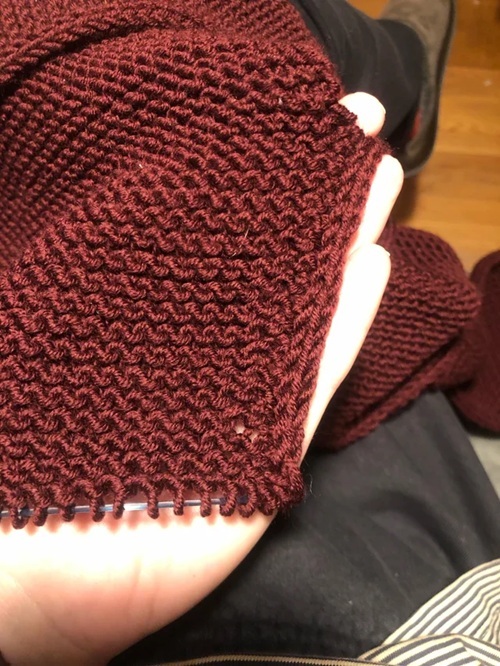
When worked properly, SKP creates a smooth, left-tilting line that mixes neatly into the fabric. The decrease lies flat without puckering, giving your project a tidy and polished appearance.
And because of the clean finish, SKP is often used in lace patterns, garment shaping, and decorative decrease lines where stitch direction matters.
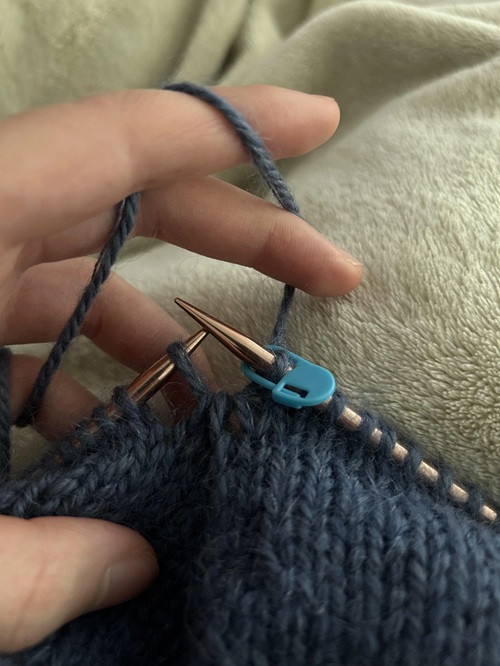
If your decrease looks twisted, uneven, or bulky, then the stitch has most likely slipped the wrong way. Always slip the stitch knitwise unless the pattern instructs otherwise to maintain the proper alignment.
Common Beginner Mistakes
Common mistakes can affect both the appearance and accuracy of your knitting. Understanding these issues can help ensure smoother, neater stitches and keep your stitch count correct throughout the project.
- It’s the most common mistake that beginners make is using the purlwise instead of the knitwise stitch.
- Another problem is pulling the yarn too tightly while working the decrease. Excess tension can cause the fabric to pucker and make the decrease stand out rather than blend smoothly into the knitting.
- Beginners do sometimes forget to pass the slipped stitch over the knit stitch in the final step. Skipping this part leaves an extra stitch on the needle, which can throw off your stitch count and disrupt the pattern.