Reduce anxiety issues and treat insomnia with these 18 DIY weighted blanket patterns. These can be made with the least and easily available supplies!
1. Blanket Filled With Weighted Pellets
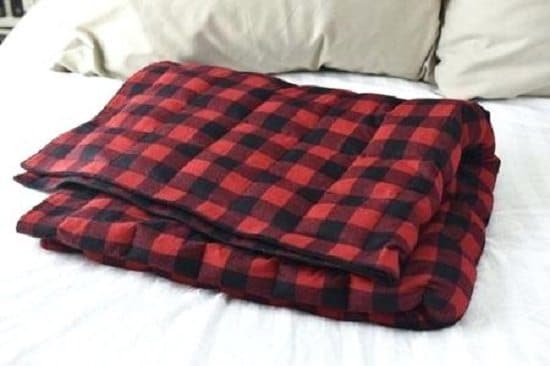
This DIY is all about making a small throw-sized weighted blanket for 3-year-olds, using small beads as the stuffing. What’s best is that it involves sewing in simple, straight rows, making it a beginner-level project.
2. Washable Weighted Blankets
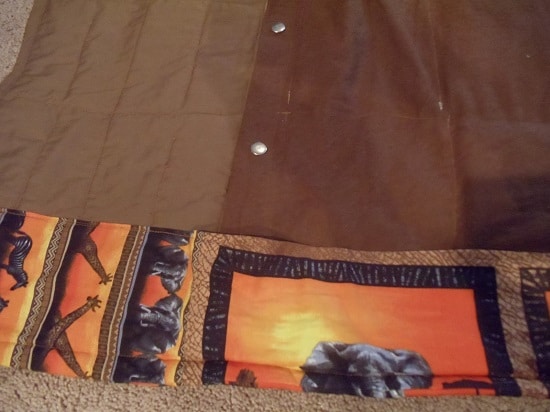
Opt for the easier way out and attach weighted pockets to your existing blankets. That way, you don’t have them to make them from scratch. Now isn’t that a great idea for a Christmas gift! Get the inspiration here.
3. River Rocks Weighted Blankets
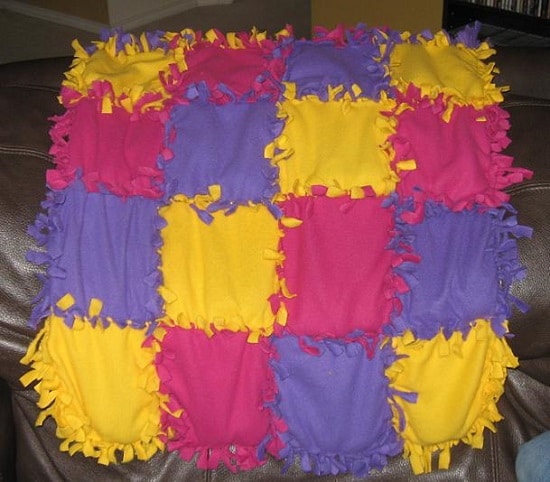
Don’t let the lack of a sewing machine deter you from making a weighted blanket. The trick is to double up squares of fabric, so they make individual pockets for river rock fillings and knot them all together to make a lap-sized quilt. Here’s the DIY.
4. Weighted Blanket
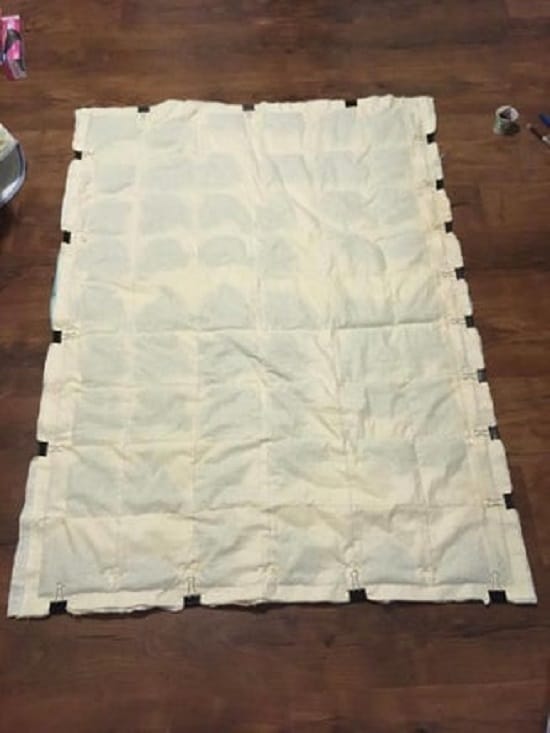
This DIY gives you beginner’s hacks to add more weight and create more pressure while keeping the blanket light enough for couch use and travel purposes.
5. DIY Weighted Blanket Sewing

From how much your weighted blanket should weigh to different types of alternate fillings, this DIY discusses the complete know-how to get you on the right track.
6. Simple Weighted Blanket
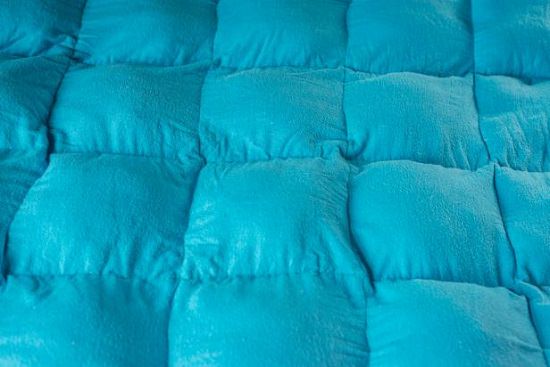
This lightweight, easy-to-sew DIY blanket made from 5 yards of fabric is tiny enough to use as a lap pad and best for times when you need your own muscle massager to beat travel stress.
7. No-Sew Weighted Blanket
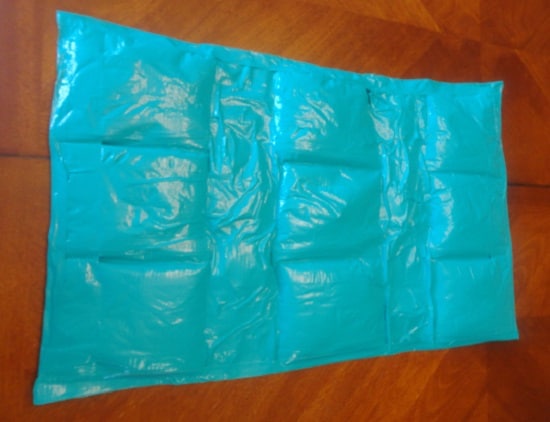
You’re never too old for a weighted blanket. If lugging around with a full-sized one doesn’t quite go with your idea of adulting, take a cue from this no-sew DIY and pile up on the fillings instead.
8. Calming The Senses With Weighted Blankets
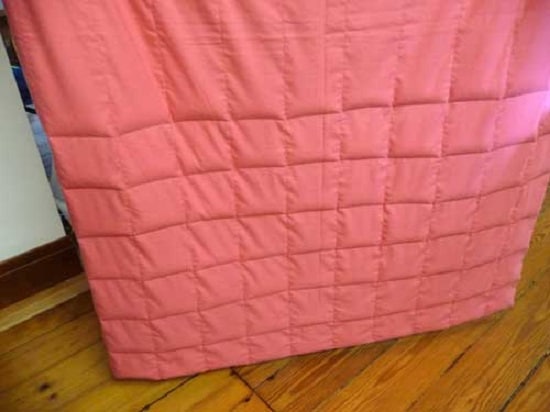
Who knew that a bag of plastic pellets could shape up into something so comforting and incredibly useful in taming your child’s restless mind, giving them a homely feel even when miles away from home. Check out the DIY here.
9. Sew A Weighted Blanket for Children with Sensory Disorders
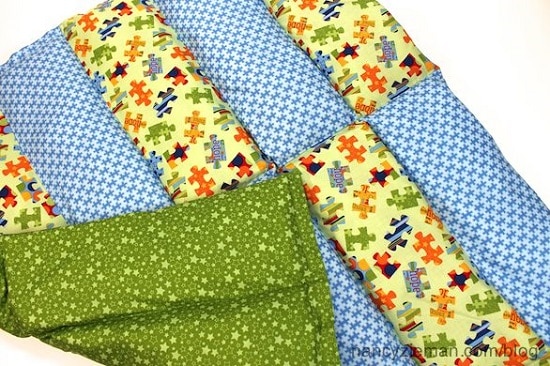
This customizable weighted blanket DIY that can be tweaked in a way to either increase or decrease the number of fillings, to strike a balance between comfort and convenience.
10. DIY Weighted Blanket or Weighted Duvet
With this DIY, you get the know-how of creating a giant-sized therapy quilt to appease your inner child. The use of both polyfill pellets and stuffing beads create a weight that almost feels like a hug from a huge teddy bear.
11. DIY Weighted Blanket for Toddlers Under $15
Get a standard baby-sized blanket, some filling beads, and you have a comforting toddler-ready weighted blanket in under ten dollars.
12. Economical Weighted Blanket DIY
Convert any ordinary twin-sized duvet into a therapy blanket with plastic pellets and beans. This DIY video has the details.
13. Weighted Rice Blanket
Using heaps of rice as your weighted blanket stuffing brings down the cost of your DIY project dramatically. It also gives you a way to maintain an equal distribution of pressure without contributing to the weight.
14. Adjustable Weighted Blanket
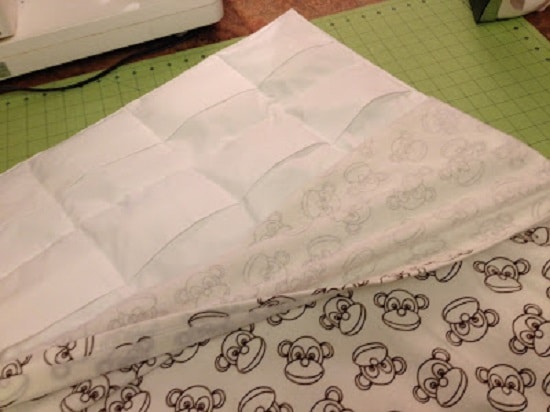
With an inexpensive make and a design that requires minimal sewing skills, to begin with, this adjustable weighted blanket has the potential to grow with your child. Here’s the DIY.
15. Weighted Tie Blanket

Washable and adjustable, this tie blanket is easy to customize as your child gets older; untie the knots and tack in extra bean bags. Get the full tutorial here.
16. Weighted Blanket Rag Quilt
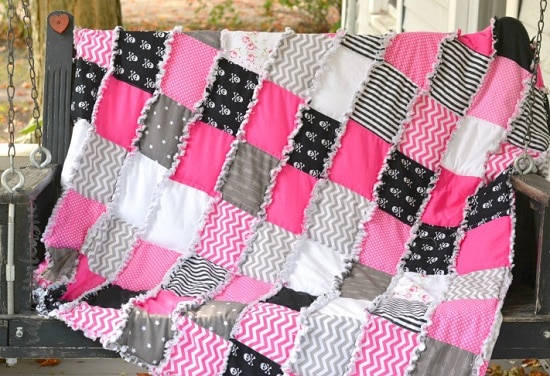
With the style of a rag quilt and the size of a throw blanket, this DIY weighted blanket is comfortable to carry around and fits right in with your home decor.
17. Weighted Blanket for Anxiety
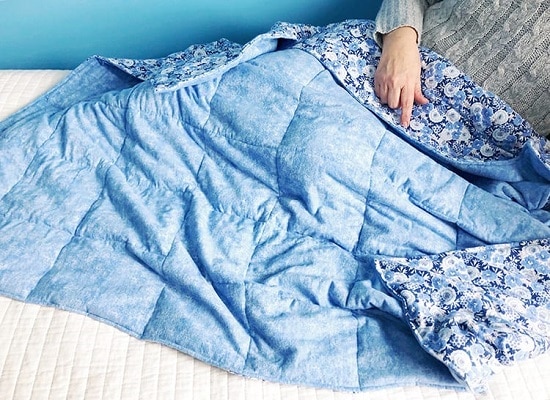
It’s hard to find a custom-made weighted blanket that ticks all the boxes of portability, weight, comfort, and maintenance but this tutorial will show you how to make one from scratch and at a fraction of the cost.
18. DIY Weighted Blanket Trial
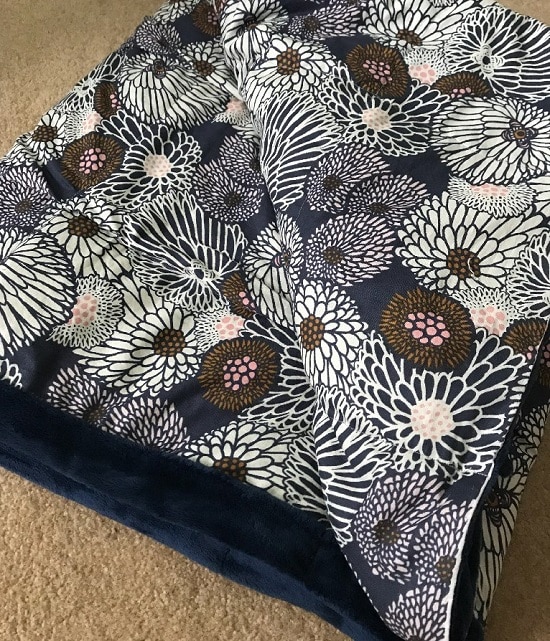
Using weighted pellets as the stuffing, this unbelievably cheap blanket is delightfully easy to make, and all you have to do is sew two pieces of fabric together at the edges. Follow this DIY for more details.
